

How to create a dreamy photo on your favorite photo editor
Are you in love with the look of airy, atmospheric photography? In this guide, learn how to turn a regular picture into a dreamy photo.
Resources
Key quotes:
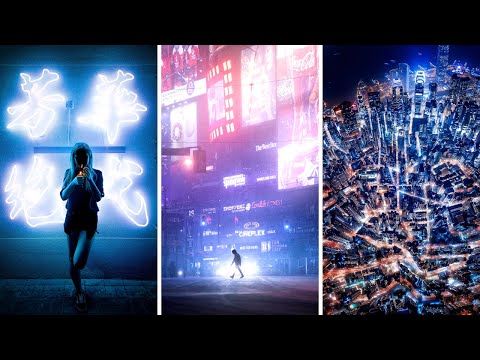
- - So before we jump intothis week's tutorial, I thought I'd give you a little hack on how I light this scene right here
- So what you do is you take a sport drink of your choice, whatevercolor that you want to light, you take a light, so let's turn on this cellphone light here,you put it underneath, and then you just place it wherever you want and thecolor from the sports drink actually lights up the walls, and then you can just like light different scenes like that
- (laughs) I'm just joking, that'snot how we do it at all
- This is totally lit byprofessional lights
- But I had you for a second
- There is one guy runningto his fridge right now, and he's like listening back he's like; ah, Chris got me! (intro song) What's going on guys,my name is Chris Hau, and if this is your firsttime to this channel, today we are talking all about cool photography techniques
- And I am featuring one of my good friends, he's name is Lucan Coutts
- And if you've everwondered how to get those super, glowy, atmospheric,what's the other word? (laughter) Surreal, or dream-like photos, well today Lucan is going to
Key quotes:
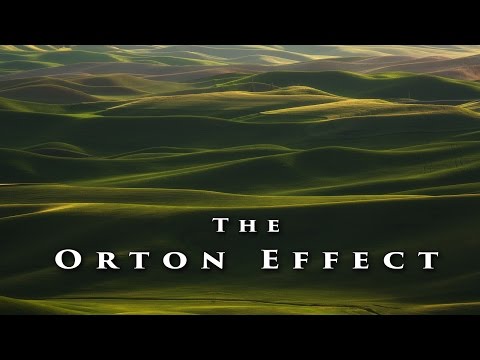
- hey guys in this video we're going to show you how the Orton effect can add some glow and atmosphere to your landscape photos so the Orton effect is one of those really popular post-processing tricks and tools that a lot of landscape photographers are using right now and in this video I want to show you a couple different ways to add the Orton effect your shot and kind of show you what it does and how I go about using it in my landscape photos so here we have this shot of the Palouse this is where I live this is taken from Steptoe Butte awesome place if you've never been you got to go so I've already done a couple things to this shot straight out of camera where it looked like this obviously very flat lacking lacking contrast so the first thing I did was I added a couple of contrast adjustments and then I added this shot here where I basically just added some highlights to the top of these hills using a luminosity mask and some paint so the next thing that we need to do is create a merged copy of our shot
Key quotes:
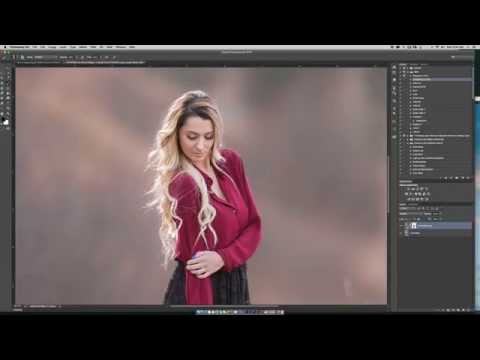
- hello everyone Nikki from chasing light this is going to be a really quick fast tutorial to show you how you can make images look really soft and creamy very quickly so this is a raw file I shoot all of my images in raw and this one is right now right out of the camera straight into raw so as you can see there's some blown out highlights and the color is kind of meh it's not super yummy and delicious so I'll just show you exactly what I do when I want to create a super soft background this one shot on a 200 so you know as long as you have a lot of space behind your subject you're going to have a lot of blur and it's going to be super super soft to begin with but you can even make this look a little more buttery so I'll just show you how I do it I normally will drop my highlights down and this was an overcast day so the highlights are not actually bright sunshine so they're easier to manage now if I was in direct sunlight I probably wouldn't be able to bring
Key quotes:
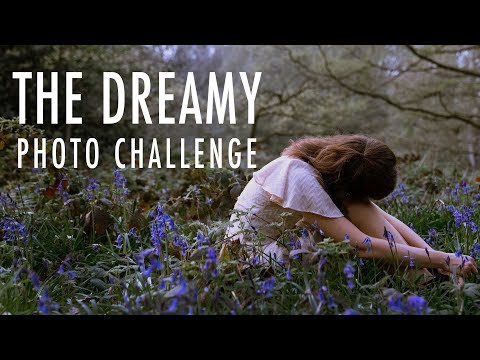
- hello and welcome to my channel so today I am going to do a little photo challenge and I will explain to you why so in the last few days I was feeling a little uninspired and I really wanted like to give myself a challenge or something to like boost up that energy again and to get back into creating so I have on Pinterest this glute board know a board called a dreamy that I just pin likes so much stuff do and I thought I would do a little challenge for myself and this afternoon see how many photos I can do in that sort of very dreamy category and I thought the first step I should do is I should analyze them the photos and see sort of the vibes and the things the elements that they use a lot and I will then give you tips along the way and show you what I sort of up with something and and I've also set myself like a challenge of doing them in three categories so I will do one self-portrait I'll do one more sort of lifestyle a mood photo and then one storytelling photo
Key quotes:
- A little fine tuning with the right tools will visibly improve a photo, while unnecessary or excessive edits will ruin it
- To decide whether your photo needs editing, first look at the light and colors: Most of the editing tools in image editing apps are designed to resolve issues with these two variables, and that’s what we’ll focus on
- ESSENTIAL TOOLS Brightness: This control uniformly changes all the colors, from extremely light (white) to extremely dark (black)
- The Exposure tool compensates for too much/too little light, but use carefully: increasing its value excessively may add noise to the image
- If an old color photo has got a color cast or sepia tones, a slight adjustment with this tool may correct them
- See below: Sharpen (or Sharpness or Clarity): Increases the contrast between dark and light pixels along the edges of objects in a picture, thus highlighting the edges
- White balance: When you take photos, you want the colors to look natural, right? Fade: This combo-tool softens all the colors and reduces contrast, to create a vintage photo effect
- Luminance: This tool is usually grouped with hue and saturation, and is used to adjust the intensity of light.
Key quotes:
- When you take a photo using a camera you have several options to use image blur as a creative tool
- You can control how blurry or how sharp the background of your photo is by setting your f-number lower (more blur) or higher (less blur)
- For example, if you use a telephoto lens of 300mm, then you should set a shutter speed of 1/300s or faster to avoid blurry photos caused by camera shake
- But, if you want to produce a nice motion blur effect like the one in the photo above, then you should set a slower shutter speed
- To get the radial blur effect I set a slow shutter speed and tried spinning the camera around a center while taking the shot
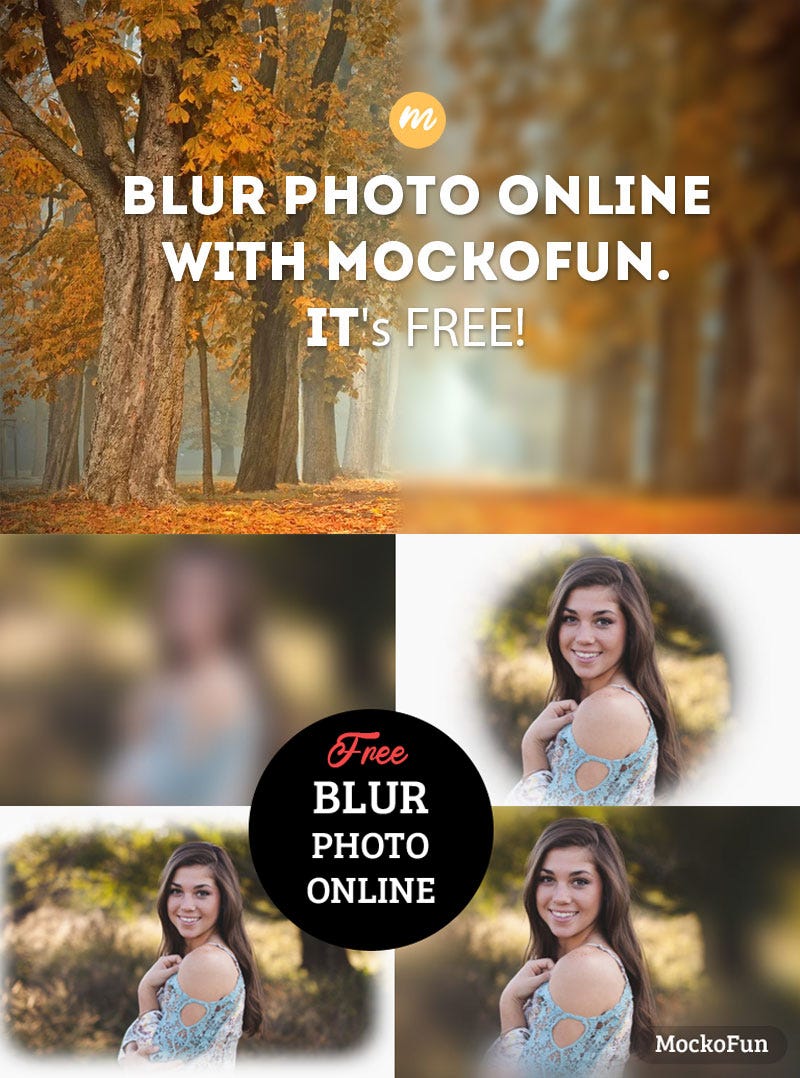
- When it comes to blurring an image, Photoshop is probably the best tool available
- I like to use Photoshop actions to blur images because it saves me a lot of time
- It’s a free Photoshop action that’s packed with features and is very easy to use
- Then use the Blur filter and the masking options offered by MockoFun to create blur image effects like: There’s an extensive tutorial about how to ✨ blur photo online with MockoFun and all the effects mentioned.

Key quotes:
- The blur can be really aesthetically pleasing and direct the attention of the viewer initially to the brightest, most vibrant coloured section and look at dull, out of focus areas last
- Some dual lens smartphones offer a mode where it detects the subject and blurs the background
- To achieve this, we can use a photo editing app
- This is a very simple, easy to use app that is my go-to app for quickly blurring the background
- The only small negative, is that you cannot go back and alter the area selection you want in focus or blurred
- It gets better — you can also control the effect, erase the effect from sections of the image you want to keep in focus and experiment with different blend modes
- Download — iTunes Download — Google Play Snapseed is my favourite all-purpose editing app
- This is the one app out of the three, that allows you to control the transition between the in-focus area and the blurred section
- You can also be a little more advanced and use the stacks, to erase areas that are blurred
- After Focus is quicker to use and PicsArt has different blur options available
- Download — iTunes Download — Google Play Originally published at Smartphone Photography Training.
Key quotes:
- Photographers, bloggers, digital marketing agencies, and businesses alike have to put a ton of thought into their photos, and many choose to only post images taken on a “real camera” and edited with Photoshop or Lightroom on a computer
- In the Ghost Media office, we’ve taken a simple photo on an iPhone 6 in natural light with the classic camera app
- VSCO started as a film emulation editing software for Lightroom, and the app is a condensed version that offers dreamy, film-like filters along with editing tweaks
- If you haven’t used VSCO before, you’ll recognize many of the filters from your friends’ photos as soon as you start using them — VSCO has taken over the editing apps game! We prefer to use the app mainly for applying filters and cropping: Here we have first cropped the photo, keeping in mind that Instagram now accepts dimensions like 5:4 in addition to the classic square
- You can do many of these changes in the Instagram app itself as well, but this app is best when you don’t necessarily want to post the image right away
- For our own Instagram, we like to sharpen the photo just a bit after all the editing is done, to make sure it is as crisp as possible!
Join the 4M+ websites created by B12's AI website builder

I can make [website edits] myself, and it’s as simple as working in a Word document. If I need more help, I’ll email the B12 team and within 24 hours, boom, it’s done.

Barbara Bartelsmeyer
Partner / COO, Action Logistix

I love that B12 prompts me to update certain [website] features and add integrations like online scheduling to increase efficiency in my law firm. These recommendations are often things that I would have never considered but have proved to be incredibly useful.

Jia Junaid
Founder, Atlas Law

B12 has raised the entire bar of website professionalism.

Heather Carnes
Founder, Envision HR

With B12, I feel supported and I think it’s absolutely realistic to grow my business. It has saved me countless hours.
Stephanie Roberts
Founder, Find Yourself In Fashion
The best website builder for professional services
Take the stress out of website building, and in just a few clicks, build a website with all the features you need to better attract, win, and serve your clients online.


