

How to use filters to make your photos look amazing
If you want to use photo filters but find them intimidating, don't worry! This guide will show you how to use filters in a way that's easy and stunning.
Resources
Key quotes:
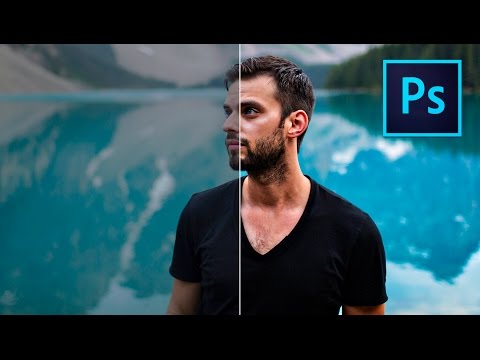
- what's up everybody Peter MacKinnon here and today we're talking about how to make your photos look better fast okay so you don't when you get home somewhere you've been taking photos maybe vacation maybe trip hanging out with friends and you load that photo on your computer and you're like oh this looks so good throw it up on the social Facebook Instagram people are double tap and that IG hearts are flowing and you're just feeling good about yourself ready for sunset and it's just so beautiful and then there's sometimes you get home and you open that photo up on your computer and you're like I remember this being way better when I was there promise so these are some basic editing skills basic editing skills that you can do on your photographs at home at any time using Photoshop I'm using Photoshop CC so go ahead head over to Adobe and download the trial of that or sign up for their subscription base to service which is what I do and you pay a monthly fee to basically own all of their apps that's what I recommend we can take a mundane photo that looks like
Key quotes:
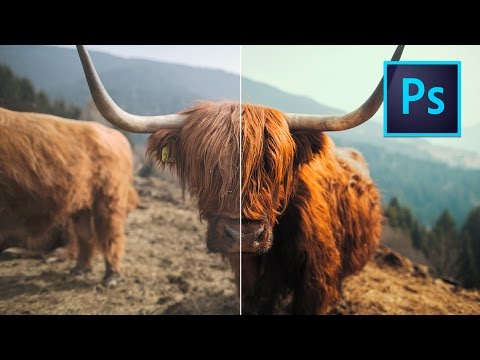
- what's up everybody Peter MacKinnon here and today we're talking about how to make your photos look cinematic fast using what's pretty easy and it's pretty fast so let's go okay what is going on happy Sunday I was going to go outside and do a tutorial today but it's just raining and gloomy nope so staying indoors now I released my luck pack we're short essentially seven precepts to code razor footage within Premiere Pro Final Cut Pro DaVinci whatever it is that you use you guys seem to really really love them but the question I got asked all the time so many emails and direct messages DMS and tweets was do these work in Lightroom or Photoshop can I use these with my photos because the general consensus what most people just assume or presets and actions will be classified as the photo side of things and lust would be the video side of the color correction so the answer is yes you can use lust within Photoshop so if you've already purchased the LUT pack then you are good to go just follow this tutorial and you can use those same seven looks to edit any
Key quotes:
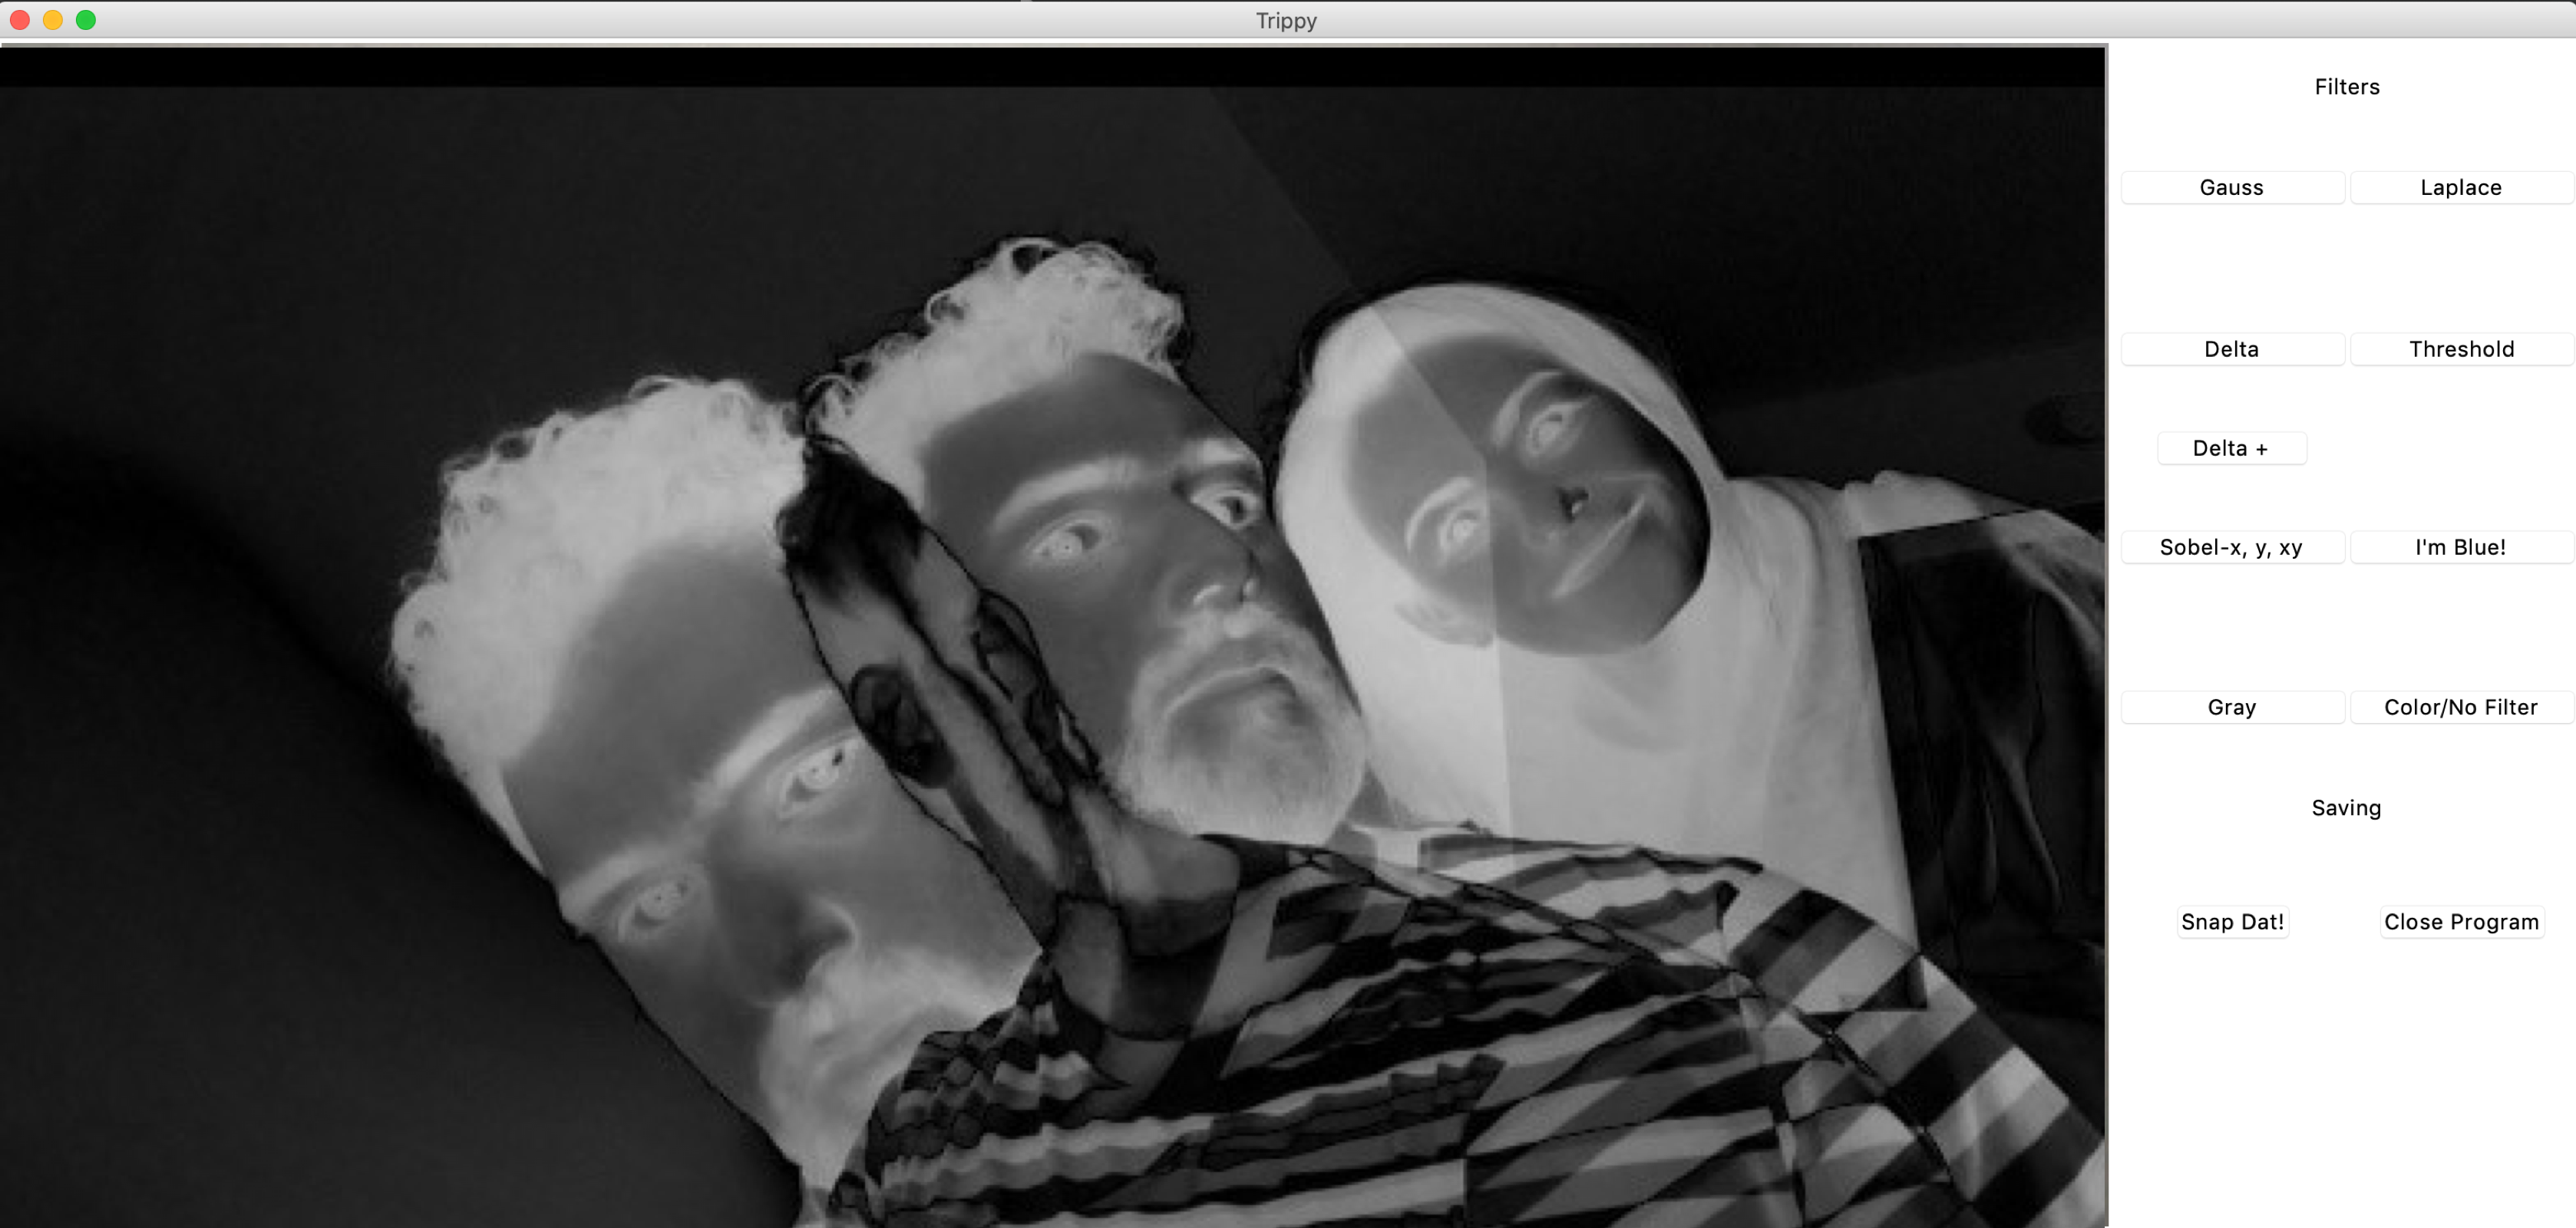
- This tutorial will show you how to develop, completely from scratch, a stand-alone photo editing app to add filters to your photos using Python, Tkinter, and OpenCV! As it turns out, while I was learning about python image processing and filtering methods, I discovered that most of these result in somewhat trippy modifications
- This is easily done using the following OpenCV’s built-in methods: Running both of these commands will capture a still frame
- To display each frame, the canvas method canvas.create_image(...,...,image=..,anchor=tkinter.NW) can be used
- This causes tkinter to pause while OpenCV takes a picture, processes the image, and displays it in the main tkinter canvas
- This process flow is seen below: Now that tkinter is (hopefully) running and displaying a video on the main canvas, it is time to add the filters to the program
- But because the display method in OpenCV also uses BGR, the pixel values got switched and a blue image came out
- Function: frame = cv2.threshold(cv2.absdiff(frame1, gray), 30, 255, cv2.THRESH_BINARY)[1] After developing the GUI and the filters what’s left is to connect the Tkinter buttons to apply the filters to the images
- Run pyinstaller: pyinstaller --onefile --windowed trippy_app.py DONE!

Key quotes:
- To create more visually-engaging photos, you can apply any filter to a certain area of the original photo and leave the background untouched — or later add a different filter to the background! However, the central figure gets obscured by applying the filter (see screenshot below)
- So, what you can do in these cases is select a certain area where you would like the filter to be applied exclusively
- To do this, click the image icon to the right of “Input Image” in the preview screen
- *Pro tip: you can also crop your photo in the app by tapping on the scissors icon
- You will be shown a new screen where you can use your finger to “paint” or select the are you would like the filter to go
- Anything in white will be left as in the original photo
- If you would like to correct any of the areas you’ve painted, tap the three dots at the top right to display the menu
- Move to the right to increase the stroke size, and to the left to make the brush smaller
- We’ve succesfully applied the filter to a specific area in our photo.

Key quotes:
- Open the app and you will see our filters categorized by Free and Premium
- If you already have any filters bookmarked as Favorites, they will also appear at the top of the Home screen
- Just tap on the top left Home button to open options
- You will see a pop up asking you to select the source where you have stored the image you want to filter
- The options are: Before filtering your photo, you may also adjust the dimensions or crop the image
- Android: Tap the top right Crop icon
- Once you’re on the Preview screen, you can change the size of your final image (Small, Medium, Large, Custom) and modify the filter settings’ toggles to change the way the effect is applied to your image
- Free app users will be able to select Small and Medium — for Large and Custom sizes, you can upgrade to SuperPhoto Full to become a Pro user
- Size dimensions will roughly be as follows: Click here for expanded tutorials on how the filter settings and color composition settings alter your photos
- You can also apply a filter to a specific area in your image (instead of the whole photo).

Key quotes:
- It’s no surprise that their photo editing app A Color Story is many Instagrammers’ go-to for making their photos shine
- The app features an impressive number of filters (over 100), plus effects and editing tools to adjust exposure, saturation and much more
- Available on Apple’s App Store and Google Play Store VSCO has been leading the game for photo apps for a few years and is still one of the most effective ways to create your own stunning pictures
- Available on Apple’s App Store and Google Play Store AfterFocus really only does one thing, but it does it very well
- Available on Apple’s App Store and Google Play Store https://web.facebook.com/AfterFocus/ You can spend endless (no, really) hours fiddling and tweaking your photos on Pixlr thanks to the vast number of filters, effects and tweaks
- Available on Apple’s App Store and Google Play Store It might only cover a small portion of the full desktop version of Adobe Photoshop’s capabilities but Adobe Photoshop Express is a powerful tool when it comes to editing images on your phone
- Available on Apple’s App Store and Google Play Store Here at Skurt we always want to power creativity on the go.

Key quotes:
- However there are presets and filters that imitate the look which older film-loaded cameras produced, and hence the name
- We will simply explain how to make your photo look like it was taken with your dad’s Nikon from the 70’s
- For this little walk-through we are going to be using two essential tools: Lightroom Presets and Film Dust and Texture
- I will provide a link to Film Dust Texture for Photoshop when we get to that part
- From the 24 presets in the bundle, we only need to select one or two that work best with your shots
- While these presets have pre-installed Grain, I like to set it manually, because sometimes you just look for exact amount and it’s hard to get it right
- Now that we have got our files exported, let’s think about the second step: namely, the dust and scratches
- Download the Dust and Film Texture here (it’s a Dropbox link, no need to worry!)
- Now do the same (that is, open in Photoshop) for the dust and scratches file you’d downloaded from my Dropbox
- Now, go back to the tab where your edited image is open and paste dust and scratches texture onto it.
Join the 4M+ websites created by B12's AI website builder

I can make [website edits] myself, and it’s as simple as working in a Word document. If I need more help, I’ll email the B12 team and within 24 hours, boom, it’s done.

Barbara Bartelsmeyer
Partner / COO, Action Logistix

I love that B12 prompts me to update certain [website] features and add integrations like online scheduling to increase efficiency in my law firm. These recommendations are often things that I would have never considered but have proved to be incredibly useful.

Jia Junaid
Founder, Atlas Law

B12 has raised the entire bar of website professionalism.

Heather Carnes
Founder, Envision HR

With B12, I feel supported and I think it’s absolutely realistic to grow my business. It has saved me countless hours.
Stephanie Roberts
Founder, Find Yourself In Fashion
The best website builder for professional services
Take the stress out of website building, and in just a few clicks, build a website with all the features you need to better attract, win, and serve your clients online.


